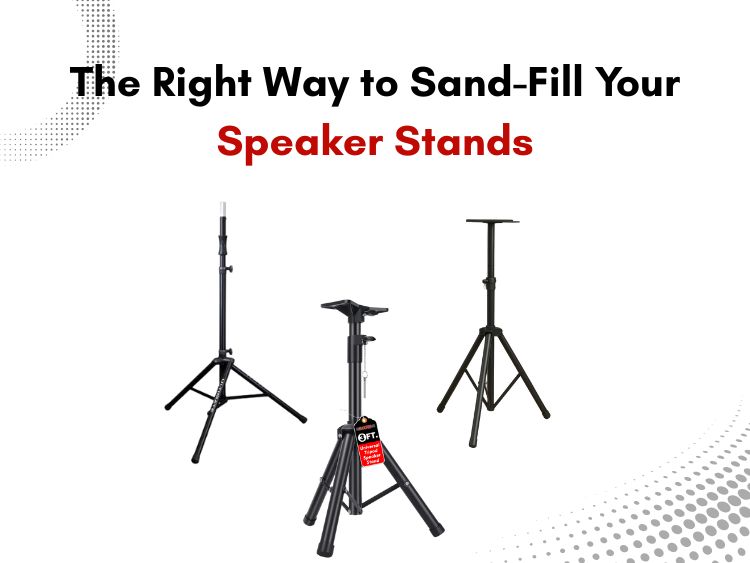
When it comes to maximizing your speaker’s performance, most people think of cables, amplifiers, or even room acoustics. But one of the simplest, most overlooked upgrades you can make? Sand-filling your speaker stands.
If you’ve ever experienced muddied bass, subtle distortion, or rattling during playback, your speaker stand could be the culprit. A hollow or unstable stand can transfer vibrations into the floor, distorting your sound and hurting your audio clarity. The fix is surprisingly simple: add mass.
In this guide, we’ll walk you through how to properly sand-fill your speaker stand to eliminate unwanted resonance, stabilize your setup, and upgrade your listening experience—step-by-step.
Why Should You Sand-Fill Your Speaker Stand?
Enhanced Sound Clarity
When speakers vibrate, they can transmit those vibrations into any surface they rest on—especially if the stand isn’t weighted properly. By adding dense material like sand into the legs or columns of your stand, you effectively dampen these unwanted movements. This leads to clearer mids and highs, tighter bass, and an overall more accurate soundstage.
Better Stability for Speaker Stand
Whether you’re working in a studio, performing live, or hosting a home event, a stable stand is a safe stand. Adding sand helps lower the center of gravity, preventing tipping—even when mounting large PA or monitor speakers.
Long-Term Gear Protection for Speaker Stand
Reducing mechanical vibrations means your speakers endure less wear and tear over time. Sand-filling might be a one-time effort, but it pays off in the longevity of your audio gear.
What You’ll Need
Before getting started, gather the following materials:
- A fillable speaker stand with hollow legs or central column—ideally something sturdy like the 5 Core Tripod Speaker Stand
- Clean, dry sand (play sand or kiln-dried preferred)
- A funnel or scoop
- Rubber stoppers or duct tape
- Gloves, a dust mask, and vacuum (optional for cleanup)
Step-by-Step Guide to Sand-Filling Your Speaker Stand
Step 1: Choose a Quality Speaker Stand
The foundation of a successful sand-fill is a well-constructed stand. The 5 Core Tripod Speaker Stand with LED lights is a top-tier choice. It’s heavy-duty, supports large speaker systems, and is equipped with height adjustability and built-in LED lighting—perfect for stage performances or studio ambiance.
Its durable metal construction and fillable structure make it an ideal candidate for sand-filling.
Step 2: Prepare the Tubes
Make sure the stand’s legs or central column (wherever the fillable space exists) are completely clean and dry. Any moisture or debris can compromise the effectiveness of the fill and potentially lead to corrosion.
If the tubes are open at the bottom, seal them securely using duct tape or rubber plugs to prevent leakage.
Step 3: Funnel in the Sand
Using a funnel or scoop, carefully pour the sand into the column. Do this slowly, pausing occasionally to gently shake or tap the stand, helping the sand settle evenly and fill air pockets.
Aim to leave about an inch or two unfilled at the top to allow for reassembly and proper weight distribution. Overfilling can cause internal stress or unbalancing.
Step 4: Seal the Top Speaker Stand
Once filled, close the top of the stand using its original caps or rubber stoppers. Make sure the seal is tight to avoid spillage or sand intrusion into speaker cables and components.
Step 5: Check for Speaker Stand Stability
Stand the unit upright on a flat surface and test it for wobble. If you feel any imbalance, gently shift the sand inside or adjust the tripod legs.
What Kind of Sand Should You Use?
The type of sand you choose makes a difference:
- Play Sand: Affordable and widely available, but may require drying before use.
- Kiln-Dried Sand: Highly recommended due to its low moisture content and uniform granularity.
- Specialized Audio Fillers (e.g., Atacama Atabites): Engineered for speaker stands but often more expensive.
Avoid beach sand or builder’s sand due to their high moisture and salt content, which can degrade metal over time.
Why 5 Core Speaker Stand Are Perfect for This DIY Upgrade
Founded on durability and performance, 5 Core has become a reliable name in audio equipment. Their speaker stands are designed not only for load-bearing and functionality but also for long-term use and modular upgrades—like sand-filling.
Here’s why 5 Core’s high-quality stand stands out:
- Sturdy Metal Construction: Built to endure the weight of added fill and large speaker systems.
- Height Adjustable: Customize elevation for optimal acoustic positioning.
- Tripod Base Design: Wide leg spread enhances balance, essential after sand-filling.
- LED Integration: Ideal for DJs, stage performers, or anyone adding visual flair to their setup.
Their entire range is thoughtfully engineered for both novice users and professionals—making them one of the best choices in the market.
Real Customer Reviews
⭐ James R. – DJ, Event Host
“After filling my 5 Core tripod speaker stand with kiln-dried sand, the improvement in bass clarity was insane. Plus, the LED feature adds a cool touch during shows.”
⭐ Linda K. – Home Studio Enthusiast
“Sand-filling my speaker stand made my mixing setup feel more grounded. It doesn’t wobble, and the vibrations are noticeably reduced.”
⭐ Carlos M. – Audio Technician
“I’ve used a lot of stands, but 5 Core’s version is my favorite. It was easy to fill and now supports my 15-inch PA speakers without flinching.”
Common Mistakes to Avoid
- Using damp or dirty sand: Leads to mold, rust, or clumping.
- Uneven fill: Can destabilize the stand and impact sound imaging.
- Overfilling: Puts stress on the frame and reduces shock absorption.
- Neglecting to reseal: May result in sand leakage over time.
Conclusion
Sand-filling your speaker stand may seem like a minor tweak, but it delivers significant acoustic and structural benefits. Whether you’re fine-tuning a studio, preparing for a live event, or simply enjoying high-fidelity audio at home, this small investment in time and materials can pay off massively in sound quality and gear longevity.
If you’re serious about your audio, don’t cut corners. Use a stand designed to handle both performance and modification. The 5 Core Tripod Speaker Stand checks every box.
Ready to Upgrade Your Sound System?
Discover the full collection of expertly engineered speaker stands by 5 Core—designed to support, stabilize, and elevate your audio setup. Built for professionals, trusted by thousands.
Whether you’re a seasoned audio pro or just starting out, 5 Core makes it easy to invest in sound the right way.


